


Adding a chatbot to WordPress takes about three minutes. Go to Plugins then Add New Plugin, search your chatbot platform's name, click Install Now and Activate, then paste your chatbot ID into the plugin settings.
Training the chatbot on your content takes longer. It is also the step that decides whether the chatbot is any good, so do it first.
iShort answer
Use the plugin method when the plugin is currently maintained, because it survives theme changes. Use the manual embed when it is not, and check the Last updated field on WordPress.org before you decide. Train the chatbot before you install anything, because an untrained widget on a live site answers nothing. Budget three minutes for the install and about half an hour in total.
Steps 1 and 6 are the ones people skip, and they are the two that decide whether the chatbot is worth having.
Train it first
Point the platform at your site, then add the PDFs and help articles your posts do not cover.
Check the plugin is alive
Read Last updated and Tested up to on WordPress.org before installing anything.
Install and activate
Plugins, then Add New Plugin, search, Install Now, Activate. No code.
Paste the chatbot ID
Copy it from your dashboard into the plugin settings field, then save.
Verify on the front end
Private window, ask a question you know the answer to, check the console.
Set branding and escalation
Match your theme, and decide where a question the bot cannot answer goes.
What should you do before installing a chatbot plugin?
Train the chatbot and check that its plugin is maintained. Both are easier to settle now than to undo later.
Train the chatbot before it goes on the site. A widget installed before training answers nothing, and visitors who get a blank answer on day one rarely come back. Build and train it on the platform, test it there, then install. The platform side is walked through in how to create an AI chatbot.
Then check that the plugin is maintained. Open the plugin's page on WordPress.org and read two fields in the sidebar: Last updated and Tested up to. Plugin authors set Tested up to in their readme as the WordPress version they have tested against, per the WordPress.org plugin handbook. The check takes ten seconds and decides which method below to use.
Several widely recommended chatbot platforms ship WordPress plugins that have not been touched in over a year, and WordPress.org puts a warning banner on the listing when that happens.
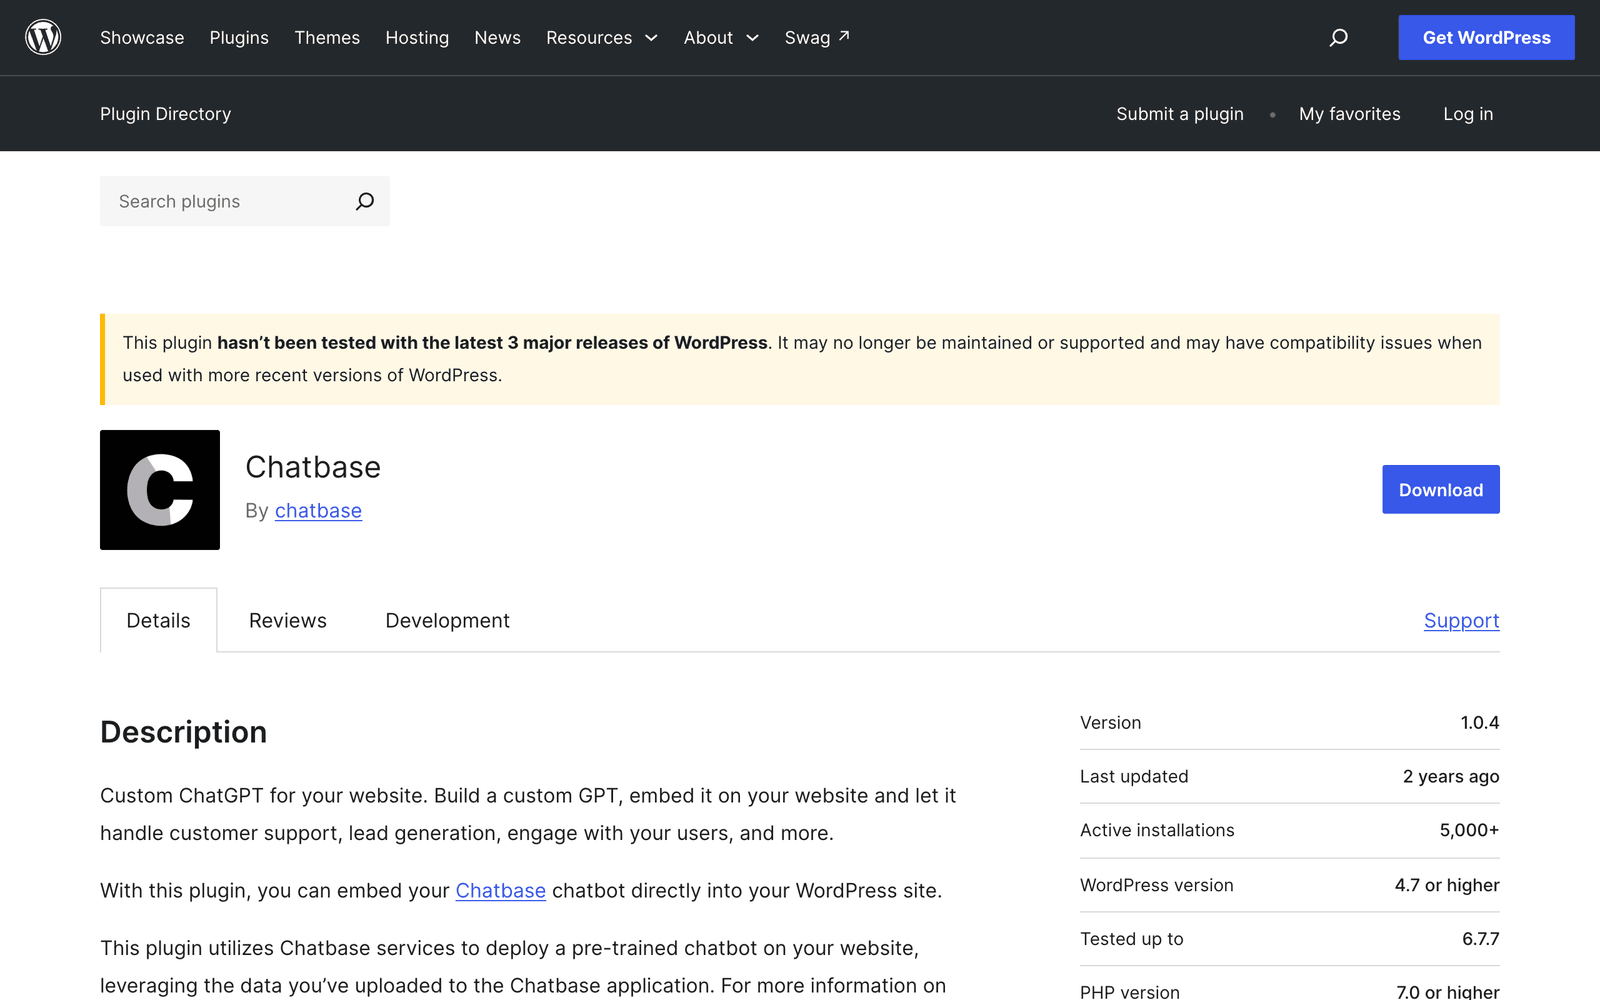
Which plugins are current, and which are not, is ranked on directory data in best chatbot for WordPress website.
How do you add a chatbot with a WordPress plugin?
Install the platform's connector plugin and paste in your chatbot ID. It takes about three minutes, needs no code, and survives a theme change, so use it when the plugin is maintained.
Step 1: Install the plugin
Log in to your WordPress admin and go to Plugins then Add New Plugin. Search for your chatbot platform by name. Click Install Now, then Activate once it finishes.
If your platform is not in the directory, download its ZIP file and use Plugins then Add New Plugin then Upload Plugin instead.
Step 2: Find the settings
Most connector plugins add their settings under Settings in the admin sidebar. Some add their own top-level menu entry. If you cannot find it, the Plugins list shows a Settings link under the plugin name.
Step 3: Paste your chatbot ID
Copy the chatbot ID or API key from your platform dashboard, paste it into the plugin's field, and save. That is the only configuration most connector plugins need, because the appearance is controlled from the platform rather than from WordPress.
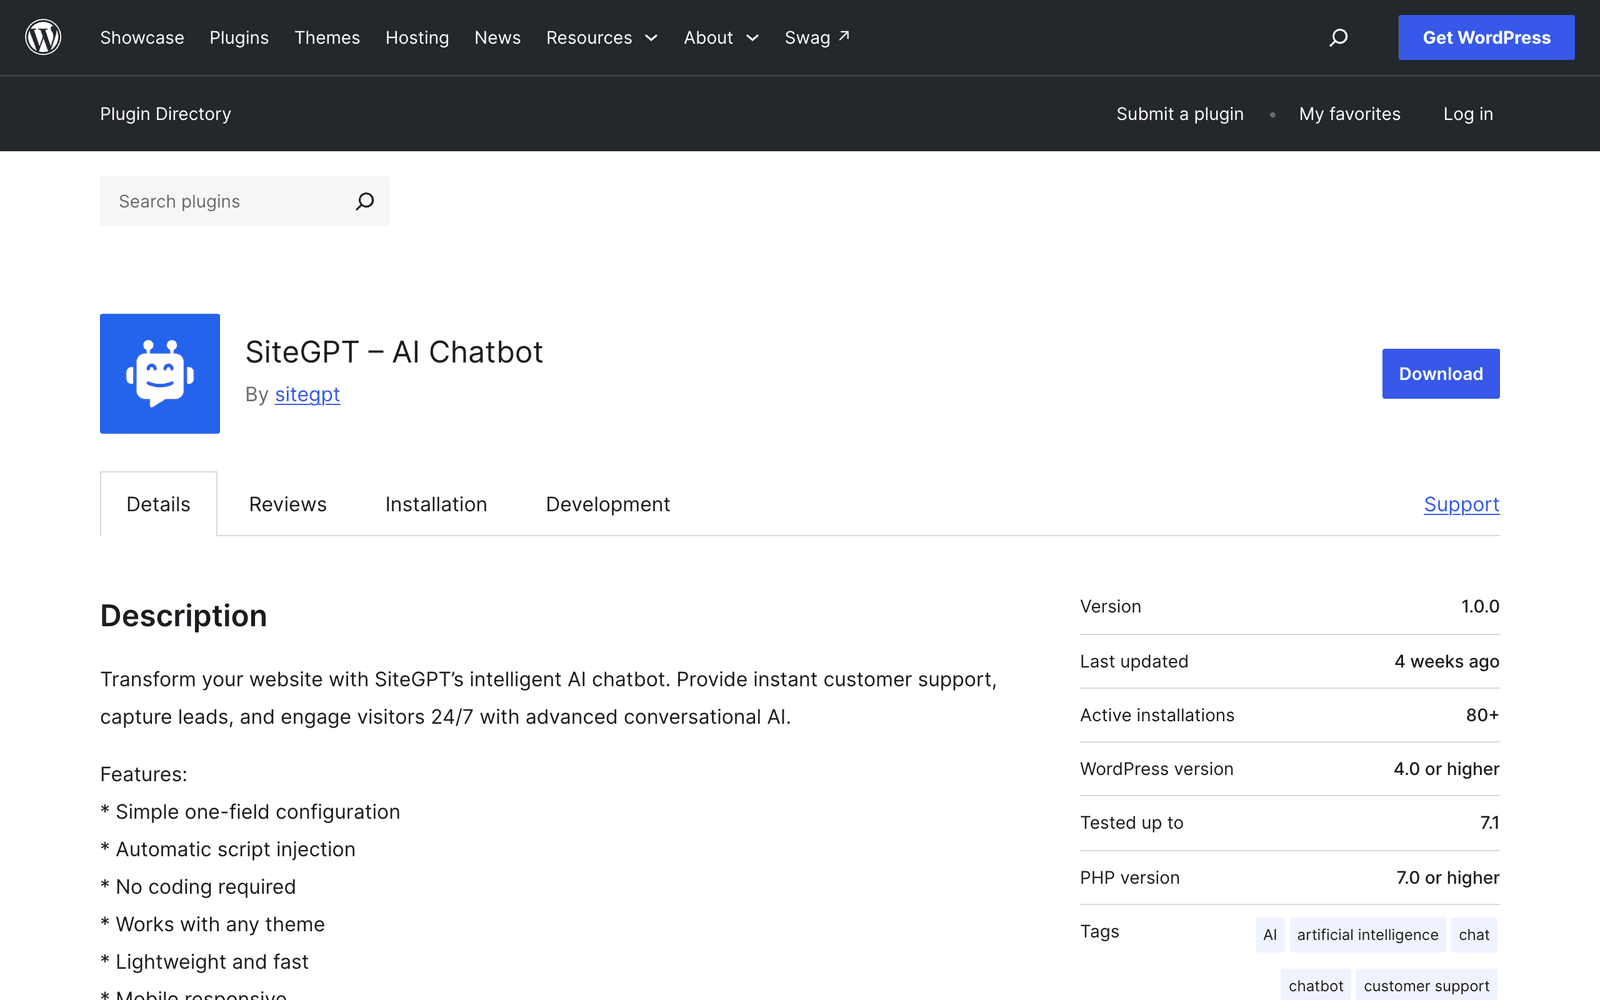
For SiteGPT, the plugin listing is on WordPress.org. Its version requirements, the script URL options, and the Allowed Domains setting are on one page at SiteGPT for WordPress.
How do you embed a chatbot manually?
Paste the platform's script tag into your footer with a snippets plugin. Use this when the plugin is stale, when the vendor does not publish one, or when you want direct control over which pages load the widget.
Step 1: Copy the embed snippet
Every hosted chatbot platform gives you a script tag from its dashboard, usually under a heading like Embed, Install, or Share. It is one line and it loads asynchronously.
Step 2: Add it through a code-snippets plugin
Install a snippets plugin such as WPCode, create a new snippet, set its location to site footer, and paste the script in. Save and activate it.
Do not paste the script directly into a theme file. A theme update overwrites it and the widget disappears without warning.
Step 3: Restrict it to specific pages if you need to
A snippets plugin lets you set conditional logic, so you can run the widget only on your documentation, only on product pages, or everywhere except checkout. This is the main advantage the manual route has over a connector plugin.
How do you train the chatbot on your WordPress content?
Point the platform at your site URL or sitemap, then add the sources your pages do not cover. The crawl picks up your published pages. That covers your posts and pages, and for many sites it is enough.
It misses everything that is not published as HTML. If your real answers live in PDFs, a help center, or internal documents, a site crawl alone produces a chatbot that knows your blog and nothing else. How a platform collects, parses, and indexes those sources is explained in what is content ingestion.
Add those sources separately. On SiteGPT that means 12+ source types: your website and sitemaps, file uploads, Google Drive, Notion, Dropbox, OneDrive, SharePoint, Box, GitHub, and YouTube. Help centers from Zendesk, Freshdesk, Intercom, Confluence, and Gitbook connect too.
Set up auto-sync and escalation while you are here.
Content changes, and a chatbot trained on last quarter's pricing page will quote last quarter's prices. Auto-sync re-reads your sources on a schedule. On SiteGPT that is monthly on Growth and weekly with a daily scan on Scale.
A chatbot that guesses is worse than one that says it cannot help. Grounding the bot in your content stops it inventing answers. Escalation gives the visitor somewhere to go when it cannot answer, and best AI chatbots with human handoff compares how platforms route those conversations to a person.
How do you check the chatbot works?
Open your site in a private window, not the tab you have been working in. A private window matters because a logged-in admin session and a cached browser both hide problems a real visitor would hit.
Then run four checks.
- The bubble appears in the position you set, on a page you expect it on.
- It answers a question you know the answer to. Ask something specific from a page you trained it on, not "hello".
- The console is clean. Open your browser developer tools and check for errors mentioning the widget script.
- Escalation reaches you. Ask to speak to a person and confirm the notification arrives.
People often skip the fourth check. It is the one that matters when a real customer asks something the bot cannot answer.
Why is the chatbot widget not showing?
Four causes account for almost every case.
| Scenario | Best pick | Why |
|---|---|---|
| Widget missing for visitors, visible for you | Purge the cache | A caching plugin or CDN is serving a copy of the page from before you added the widget. |
| Nothing appears at all, no console error | Re-copy the chatbot ID | A trailing space or a partial copy is the most common cause, and it fails silently. |
| Appears only after clicking Accept | Nothing, this is correct | Your consent banner is holding third-party scripts until the visitor consents. That is its job. |
| Worked, then stopped after a speed plugin | Exclude the widget script | Deferring or combining JavaScript breaks async third-party widgets. Add it to the optimization exclusion list. |
If none of those apply, check that the plugin is activated and that your theme calls wp_footer(). That function prints scripts before the closing body tag. A theme missing it stops every footer-injected script from loading, chatbots included.
Frequently asked questions
How do I add a chatbot to my WordPress website?
Use the plugin method when the plugin is maintained. Go to Plugins then Add New Plugin, search the plugin name, install and activate it, then paste your chatbot ID into its settings page.
Use the manual method when the plugin is stale or the vendor does not publish one. Copy the embed script from your chatbot provider and add it to your site footer through a code-snippets plugin.
How long does it take to add a chatbot to WordPress?
Installing and connecting the plugin takes about three minutes. Training takes longer and is the part that decides whether the chatbot is useful, usually 10 to 30 minutes depending on how much content you point it at.
Budget half an hour in total for a site you want to launch the same day.
Do I need to know how to code to add a chatbot to WordPress?
No. The plugin method needs no code: install, activate, paste an ID, save. The manual embed needs one script tag pasted into a form field.
Neither route requires editing a theme file, and you should avoid editing theme files because a theme update overwrites direct edits.
How do I add a chatbot to WordPress without a plugin?
Copy the embed snippet from your platform and add it to your site footer using a code-snippets plugin such as WPCode. The snippet is a single script tag that loads asynchronously.
This route is the right one when a vendor's plugin has not been updated recently.
How do I train an AI chatbot on my WordPress content?
Point the platform at your site URL or sitemap and it crawls your published pages. Add PDFs, help center articles, and documents separately if the real answers live there.
On SiteGPT you can also connect Google Drive, Notion, Dropbox, OneDrive, SharePoint, Box, GitHub, and YouTube. Auto-sync re-reads them on a schedule.
Why is my chatbot not showing on my WordPress site?
Purge your cache first, because that is the most common cause. Then re-copy the chatbot ID in case it picked up a trailing space.
Check whether a consent banner is holding the script until the visitor accepts. That behavior is correct. Finally, exclude the widget script from any JavaScript optimization plugin.
Will a chatbot plugin slow down my WordPress site?
A connector plugin injects a third-party script that loads asynchronously, so it does not block your page render. It does add one network request. Plugins that run AI calls on your own server add load to PHP instead.
The bigger practical risk is an unmaintained plugin. One that has not been tested against your WordPress version can break on upgrade or leave a security hole open.
Can I add a chatbot to a specific page only?
Yes. Most platforms let you restrict which domains and paths the widget appears on from the dashboard. With the manual embed you control it directly, because a snippets plugin lets you set conditional logic per page.
Is there a free way to add a chatbot to WordPress?
Yes. WPBot has a free tier, AI Engine is free to install if you supply your own AI provider key, and Hyve Lite is free for a capped number of posts. The best chatbot for WordPress website ranking compares their WordPress.org data.
Most hosted platforms run a trial and then a paid plan. SiteGPT has a 7-day trial on every plan and asks for a card to start it.
Sources
- How your plugin readme.txt works, WordPress.org Plugin Handbook. Defines the Tested up to field shown on every plugin listing.
- wp_footer(), WordPress Developer Reference. The hook that prints footer scripts before the closing body tag.
- SiteGPT AI Chatbot plugin, WordPress.org. The connector plugin, with its Last updated and Tested up to fields.
- WPCode, WordPress.org. The snippets plugin used for the manual embed.